
Blog
How to Fix Common Photo Magnet Problems: Simple DIY Solutions
Custom photo magnets are a fantastic way to display family memories, travel adventures, or business promotions right on your kitchen fridge. However, if you have ever noticed your favourite pictures warping, losing their colour, or slowly creeping down your appliance door, you are not alone.
Australian homes encounter unique environmental challenges from extreme summer heatwaves to coastal humidity that can break down low-quality magnetic items. In this article, we look into the four most common photo magnet problems and how to fix them for good.
1. Peeling, Curling, and Delamination at the Edges
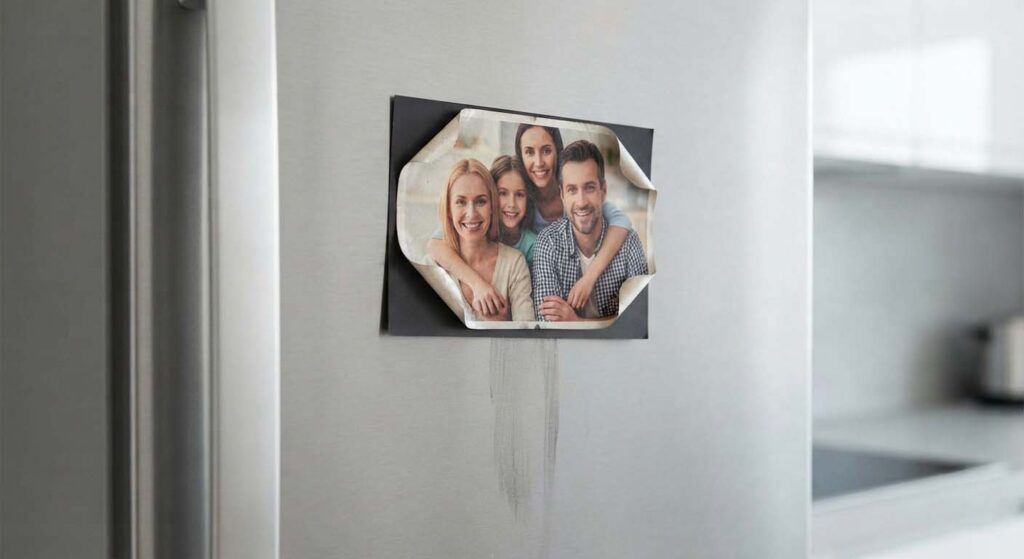
The most frequent issue with low-cost or homemade custom magnets is photo magnet peeling. This happens when ambient moisture, high humidity, or nearby kitchen heat cycles break down the bond between the photo print, the protective laminate, and the magnetic backing.
The Solution
- Use Premium Materials: When creating or ordering prints, opt for UV-protected or fully laminated photographic paper rather than standard matte or gloss inkjet paper.
- Relocate the Display: Avoid placing your treasured photos on appliance sides that vent heat, or near a high-moisture zone like your kitchen sink or kettle. Moving them to an interior magnetic whiteboard or a cooler spot preserves the adhesive layer.
2. Magnets Sliding Down Refrigerator Doors
Have you ever stuck a beautiful picture up, only to find it resting at the bottom of the door an hour later? Fridge magnet sliding is incredibly common on modern stainless steel or glass-front refrigerators. These appliances often use thinner outer metal sheets or premium coatings that inherently lower magnetic attraction.
The Solution
- Upgrade to Neodymium: Standard flexible ceramic sheet magnets struggle with slick surfaces. Upgrading your backing to high-grade Neodymium magnets provides up to ten times the holding strength of basic craft sheets.
- Add Non-Slip Backing: If your appliance door doesn’t have a thick steel core, try applying thin, non-slip adhesive magnetic strips directly onto the surface to drastically increase friction. For an alternative take, some DIY communities debate whether a paper-thin sliver of rubber behind the magnet helps add friction without killing the magnetic pull.
3. Sun Fading and Washout Discoloration
Direct Australian sunlight contains heavy UV radiation that quickly shatters ink pigments. Over time, your bright and colorful family portraits turn into washed-out, dull, or strangely yellowed prints.
The Solution
- Apply UV-Resistant Coatings: If you are producing your own products, a light spray layer of clear UV-resistant acrylic sealer or epoxy coat blocks harsh rays.
- Safe Cleaning Methods: Clean dust and kitchen grease off your prints using a lightly damp microfiber cloth. Never rub them with harsh chemical sprays or abrasive surface cleaners, which strips away remaining protective clear coats.
4. Glue Failure: Photo Separating from the Magnet
Kitchens undergo constant temperature changes. Extreme heat shifts cause standard craft glues, double-sided tape, or lower-tier pressure adhesives to dry out, crystallize, and completely lose their stickiness. This leaves you with a bare black magnet on the fridge and your photo on the floor.
The Solution
- Switch to Stronger Adhesives: Skip basic school glue or cheap double-sided tape. Instead, rely on heavy-duty, temperature-stable adhesives like specialized epoxy, gorilla glue, or contact cement to secure the photo back to its base.
- Repress with Light Heat: For vinyl or pre-applied adhesive backings that have lifted but aren’t entirely dried out, re-pressing the elements tightly together under low, uniform pressure can reactivate the bond and seal out air bubbles.